Garage door rollers are essential components that help in the smooth opening and closing of your garage door. Over time, these rollers can wear out or get damaged, leading to noisy and malfunctioning doors. You can also navigate https://tiptopgaragedoorepair.com/ to find door roller repair service. This step-by-step guide will walk you through the process of DIY garage door roller repair.
Tools and Materials Needed
Before you begin the repair process, make sure you have the following tools and materials ready:
Tools:
- Screwdriver (flathead and Phillips head)
- Adjustable wrench
- Pliers
- Vice grips
- Hammer
- Lubricant spray
Materials:
- New garage door rollers
- Safety goggles
- Gloves
- Cloth
Step 1: Safety First
Before you start any repair work, ensure your safety by following these precautions:
- Disconnect the power to the garage door opener to prevent any accidental opening or closing.
- Wear safety goggles to protect your eyes from debris.
- Wear gloves to protect your hands from any sharp edges.
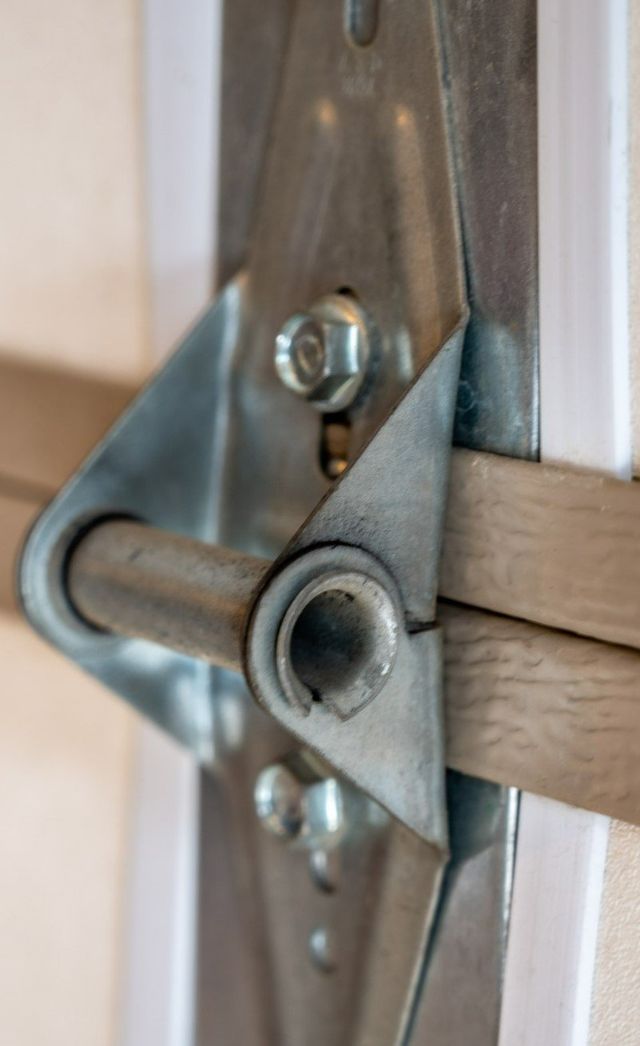
Step 2: Identify the Problem
Inspect your garage door to identify which rollers need to be replaced. Look for signs of wear and tear, such as cracks or chips in the roller, or if the roller is not moving smoothly along the track.
Step 3: Remove the Old Rollers
Follow these steps to remove the old rollers:
- Close the garage door completely.
- Use a flathead screwdriver to pry off the hinge holding the roller in place.
- Slide the roller out of the track.
- Remove the roller from the hinge by using a hammer or pliers to tap it out.
Step 4: Install the New Rollers
Now it's time to install the new garage door rollers:
- Place the new roller into the hinge.
- Slide the roller back into the track.
- Secure the hinge back in place with the screws.
Step 5: Lubricate the Rollers
After installing the new rollers, lubricate them to ensure smooth operation. Use a lubricant spray specifically designed for garage door rollers. Apply a small amount of lubricant to each roller and allow it to penetrate the bearings.
Step 6: Test the Garage Door
Once you have replaced and lubricated the rollers, test the garage door to ensure it is functioning properly. Open and close the door a few times to make sure it moves smoothly along the track without any noise or resistance.
Step 7: Final Checks
Before you consider the repair job complete, make these final checks:
- Inspect all the rollers to ensure they are properly installed and secure.
- Check the track for any debris or obstructions that could impede the movement of the door.
- Tighten any loose screws or bolts on the track or hinges.
Conclusion
Congratulations! You have successfully repaired your garage door rollers. By following this step-by-step guide, you have saved money and gained valuable experience in DIY home maintenance. Remember to perform regular maintenance on your garage door to prevent future issues and keep it functioning smoothly.